순서는 크게 아래 3단계
- hexo 설치 및 정적 페이지 생성
- github repository & Disqus ID 생성
- github 연동 및 Disqus 설정 후 배포
Let’s just Follow me.
npm이 설치 되어 있지 않으면 node.js를 설치하면 npm이 설치된다.
1. hexo 설치 및 정적 페이지 생성
설치
|
|
hexo 프로젝트 생성 및 dependency download
|
|
포스트 파일 생성
|
|
/source/_post/first-post.md 가 생성됨
예제 포스트
|
|
포스트 확인
|
|
일반적으로 http://localhost:4000 으로 확인 가능하며, command line output 으로 주소 확인 가능.
정적 페이지 생성
|
|
/blog/public/에 실제 호스팅에 사용할 웹 페이지가 생성된다.
Notice
정적 페이지에 변경이 제대로 반영되지 않을 경우hexo clean후hexo generate
2. github repository & Disqus ID 생성
github repository
github로 이동 후 가입 & 로그인 한다.
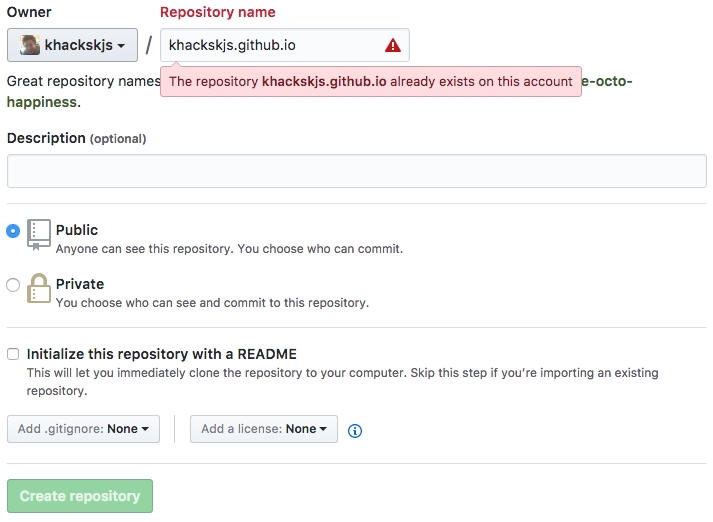
우상단의 New repository를 선택한다.

Repository name에 본인의 {github ID}.github.io 로 입력한 후 Create repository선택.
(이미 이 블로그가 khackskjs.github.io를 사용하고 있어서 already exists)
Disqus ID 생성
댓글용 Disqus서비스를 사용하기 위해 사이트로 이동 후 가입하거나 지원하는 SNS 연동
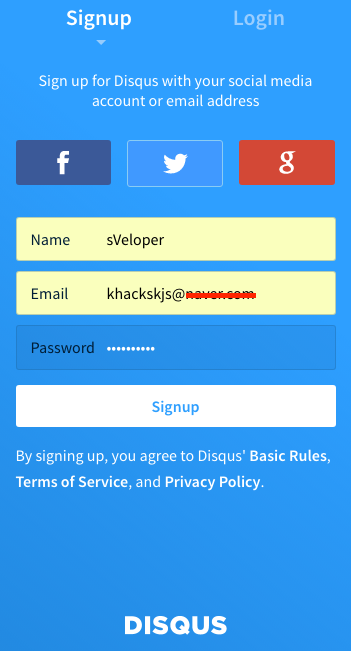
이름, 이메일(인증 필요)을 이용해서 가입한다.
이 블로그를 위해 khackskjs@gmail.com 계정은 이용중이므로, 다른 도메인 메일을 통해 이미지 캡쳐
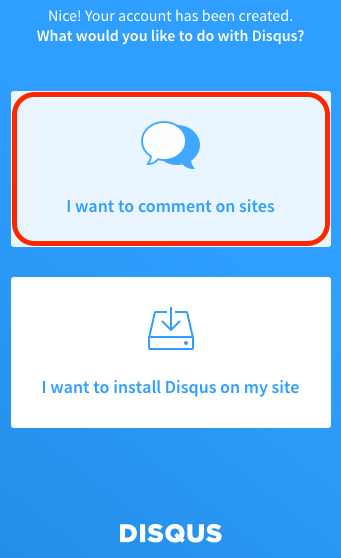
코멘트를 이용 할 것이므로 위의 I want to comment on sites를 선택한다.
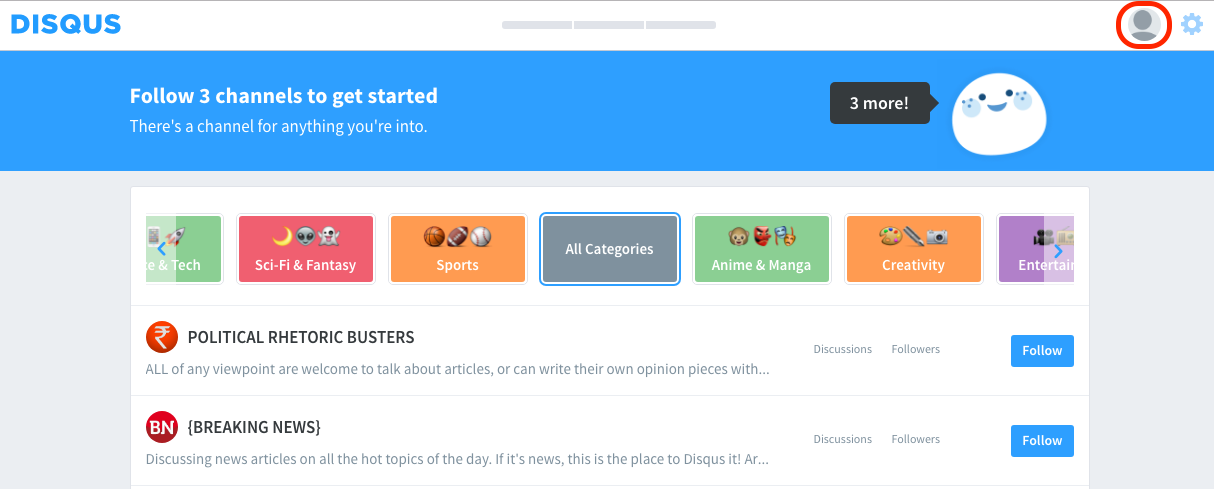
Disqus의 구독 서비스를 이용하라는거 같은데 그냥 스킵하고, 우상단의 유저 아이콘을 선택한다.
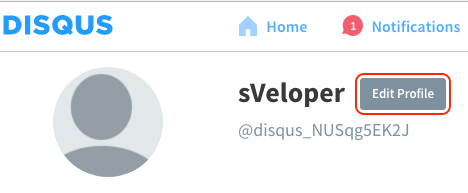
계정설정 화면이 나오면 Edit Profile을 선택한다.
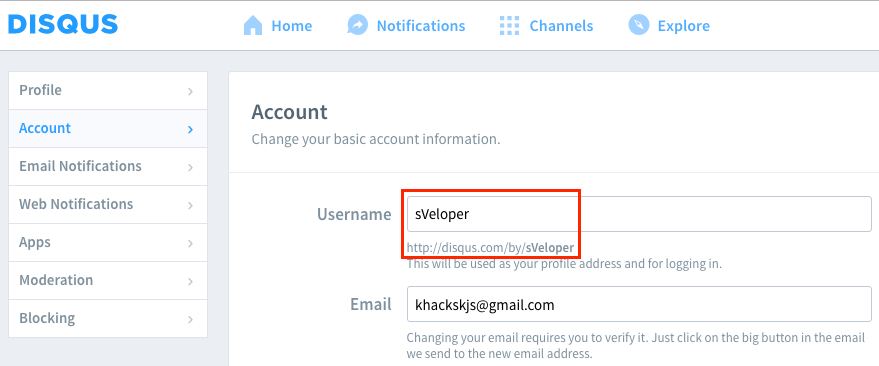
계정설정 화면에서 Acount탭에서 Username을 설정한다.
disqus service를 통틀어 고유한 이름이어야 하며, 이를통해 hexo와 연동이 가능하다.
(hexo _config.yml에서 disqus_shortname에 사용)
3. github 연동 및 Disqus 설정 후 배포
git에 배포 해주는 플러긴을 설치한다.
|
|
GitHub 계정 및 disqus_shortname 을 입력한다.
|
|
이제 설정은 끝났고, 위에서 생성한 페이지 (hexo g)를 배포한다.
|
|
github로 push가 되었을 것이다._config.yml파일의 url에 입력한 주소(ex: http://khackskjs.github.io/)로 이동하면 블로그가 보일 것이다.
(입력은 http, 호스팅은 https)
기본적인 사용은 위의 포스팅을 따르면 문제 없을 것이다.
(문제가 있다면 댓글 주시면 반영토록 하겠습니다)
좀 더 고급진(?) 사용을 원한다면 아래 링크들을 참조 하길 바란다.
hexo, markdown syntax